The Kubeflow Central Dashboard provides access to Kubeflow’s components. This guide describes how to customise the link configuration of your Kubeflow dashboard.
Configure links
To define your own links on the Kubeflow dashboard, use the charm config fields:
additional-menu-linksadditional-external-linksadditional-quick-linksadditional-dashboard-links
For example, to create external links, define my_external_links.yaml as follows:
- text: My Container Registry
  link: http://my.company.com/registry
  icon: apps
Where:
- text: the text shown on the dashboard.
- link: the full link.
- icon: any icon from here.
Now pass this config to Juju by:
juju config kubeflow-dashboard additional-external-links=@my_external_links.yaml
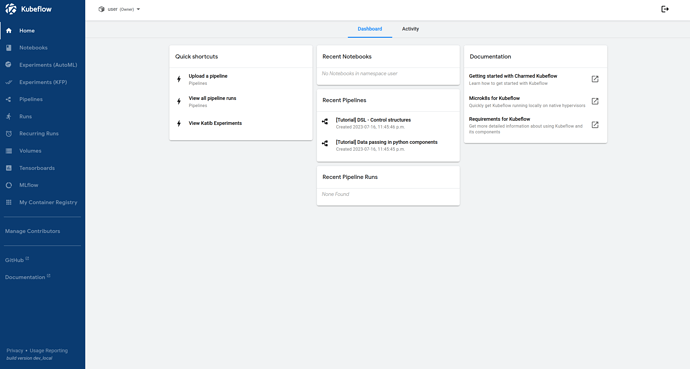
This results in your link(s) being included on the dashboard. See the bottom of the left-hand sidebar:
Add to existing links
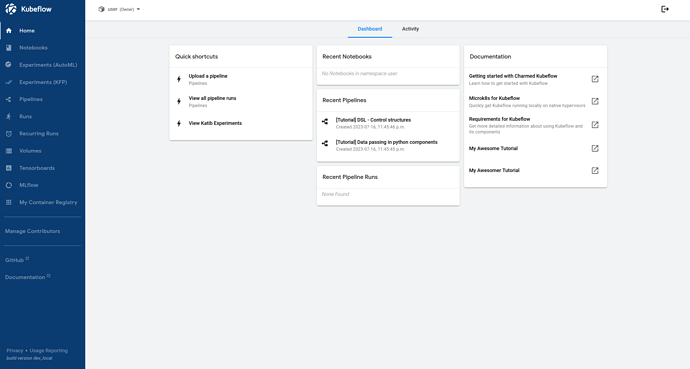
You can add links to an existing set of them by modifying the existing juju config value. For example, add documentation links as follows:
juju config kubeflow-dashboard additional-documentation-links | yq -P > links_to_edit.yaml
Where links_to_edit.yaml contains:
- text: My Awesome Tutorial
  link: http://my.company.com/tutorial1
- text: My Awesomer Tutorial
  link: http://my.company.com/tutorial2
Now push the new settings back to Juju with:
juju config kubeflow-dashboard additional-documentation-links=@links_to_edit.yaml
Customise the link order
Links are shown by default in alphabetical order. To modify this, use the following config fields:
menu-link-orderexternal-link-orderquick-link-orderdashboard-link-order
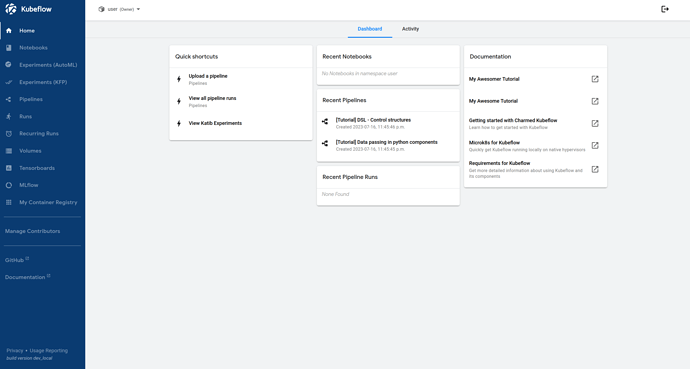
*-link-order config accepts a YAML list of linked text that define the link order at the top of that category. Any link not called out in this config will be included at the end in alphabetical order. For example, setting:
juju config kubeflow-dashboard documentation-link-order='["My Awesomer Tutorial", "My Awesome Tutorial"]'
Would change the previous dashboard to:
Last updated 8 months ago.


