
Charmed Kubeflow can be configured for multi-user collaboration with LDAP for user authentication. Steps in this guide should be followed sequentially, as some later steps depend on earlier ones.
Contents:
- Requirements
- Set environment variables
- Install the OpenLDAP server
- Generate a server certificate
- Enable TLS for OpenLDAP
- Add LDAP directory model
- Create a user
- Set bind user account
- Add MemberOf overlay
- Add indexes
- Add users to OpenLDAP
- Disable anonymous bind to OpenLDAP
- Configure Charmed Kubeflow to use OpenLDAP
- Verify access
- It’s a wrap
- Further reading
Requirements
- A Kubernetes cluster (eg. MicroK8s) running on Ubuntu 22.04 with one or more nodes running Charmed Kubeflow - see the install guide to get up and running
- An Ubuntu 22.04 server on which to install OpenLDAP
Set environment variables
On the machine where you’ll install LDAP, define environment variables to be used in the following steps. Edit as necessary. DOMAIN is the LDAP domain. OL_ADMIN_PASS is the admin password. OL_BIND_PASS is the remote bind user’s password. OPENLDAP_HOST is the publicly accessible hostname of the server running OpenLDAP.
OL_ADMIN_PASS="admin"
OL_BIND_PASS="pw"
DOMAIN="ldapexample.org"
ORG_NAME="LDAP Example Org"
OPENLDAP_HOST="yourmachinedns.yourdomain.com"
Install the OpenLDAP server
Use debconf-utils to preconfigure installation options for the OpenLDAP installation, as follows:
sudo apt update
sudo apt install -y debconf-utils
echo "slapd slapd/password1 password $OL_ADMIN_PASS" >> debconf-slapd.conf
echo "slapd slapd/password2 password $OL_ADMIN_PASS" >> debconf-slapd.conf
echo "slapd slapd/move_old_database boolean true" >> debconf-slapd.conf
echo "slapd slapd/domain string $DOMAIN" >> debconf-slapd.conf
echo "slapd shared/organization string $ORG_NAME" >> debconf-slapd.conf
echo "slapd slapd/no_configuration boolean false" >> debconf-slapd.conf
echo "slapd slapd/purge_database boolean false" >> debconf-slapd.conf
echo "slapd slapd/allow_ldap_v2 boolean false" >> debconf-slapd.conf
echo "slapd slapd/backend select MDB" >> debconf-slapd.conf
cat debconf-slapd.conf | sudo debconf-set-selections
Now install the OpenLDAP server, slapd, as well as some tools and scripts to help manage the server:
sudo apt install -y slapd ldap-utils ldapscripts
Generate a server certificate
Generate a server certificate, so that we can encrypt authentication queries between Charmed Kubeflow and the OpenLDAP server. In production, use something like Let’s Encrypt. For demo purposes, you can use a self signed cert as follows:
sudo bash -c "openssl req -newkey rsa:4096 -x509 -nodes -out /etc/ldap/$OPENLDAP_HOST.crt -keyout /etc/ldap/$OPENLDAP_HOST.key -days 1095 \
-subj \"/CN=$OPENLDAP_HOST\" \
-extensions SAN -config <(echo \"[req]\"; echo distinguished_name=req; echo \"[SAN]\"; echo subjectAltName=DNS:$OPENLDAP_HOST)"
Enable TLS for OpenLDAP
Configure OpenLDAP to use the certificate to encrypt communications:
sudo sed -i "s/TLS_CACERT.*/TLS_CACERT\t\/etc\/ldap\/$OPENLDAP_HOST.crt/g" /etc/ldap/ldap.conf
sudo chown openldap:openldap /etc/ldap/ldap.conf
sudo service slapd restart
sudo mkdir /etc/ldap/scratch

sudo bash -c "cat > /etc/ldap/scratch/olcTLS.ldif <<EOF
dn: cn=config
changetype: modify
replace: olcTLSCACertificateFile
olcTLSCACertificateFile: /etc/ldap/$OPENLDAP_HOST.crt
-
replace: olcTLSCertificateFile
olcTLSCertificateFile: /etc/ldap/$OPENLDAP_HOST.crt
-
replace: olcTLSCertificateKeyFile
olcTLSCertificateKeyFile: /etc/ldap/$OPENLDAP_HOST.key
EOF"
sudo ldapmodify -Y EXTERNAL -H ldapi:/// -f /etc/ldap/scratch/olcTLS.ldif
Add LDAP directory model
Run the following commands to create the organisational hierarchy that will contain our users and groups:
sudo bash -c 'cat > /etc/ldap/scratch/add_ou.ldif <<EOF
dn: ou=people,dc=ldapexample,dc=org
objectClass: organizationalUnit
objectClass: top
ou: People

dn: ou=groups,dc=ldapexample,dc=org
objectClass: organizationalUnit
objectClass: top
ou: Groups

dn: ou=system,dc=ldapexample,dc=org
objectClass: organizationalUnit
objectClass: top
ou: System
EOF'
sudo ldapadd -x -D 'cn=admin,dc=ldapexample,dc=org' -w "$OL_ADMIN_PASS" -H ldapi:/// -f /etc/ldap/scratch/add_ou.ldif
Create a user
Create a username and password that Charmed Kubeflow can use to authenticate with the OpenLDAP directory server when it queries OpenLDAP over the network:
sudo bash -c "cat > /etc/ldap/scratch/add_idpuser.ldif <<EOF
dn: cn=idpuser,ou=system,dc=ldapexample,dc=org
objectClass: inetOrgPerson
cn: idpuser
sn: idpuser
givenName: idpuser
userPassword: $(slappasswd -s $OL_BIND_PASS)
EOF"
sudo ldapadd -x -D 'cn=admin,dc=ldapexample,dc=org' -w "$OL_ADMIN_PASS" -H ldapi:/// -f /etc/ldap/scratch/add_idpuser.ldif
Set bind user account
Assign the user account we just created to the role of bind user, so that Charmed Kubeflow can use this account to authenticate before querying OpenLDAP:
sudo bash -c 'cat > /etc/ldap/scratch/olcAcl.ldif <<EOF
dn: olcDatabase={1}mdb,cn=config
changeType: modify
replace: olcAccess
olcAccess: {0}to * by dn.exact=gidNumber=0+uidNumber=0,cn=peercred,cn=external,cn=auth manage by * break
olcAccess: {1}to attrs=userPassword by self write by anonymous auth by dn="cn=admin,dc=ldapexample,dc=org" write by * none
olcAccess: {2}to dn.base="" by anonymous auth by * read
olcAccess: {3}to dn.base="cn=Subschema" by * read
olcAccess: {4}to * by dn.exact="cn=idpuser,ou=system,dc=ldapexample,dc=org" read by anonymous auth by self read
EOF'
sudo ldapadd -Y EXTERNAL -H ldapi:/// -f /etc/ldap/scratch/olcAcl.ldif
Add MemberOf overlay
Add the MemberOf overlay next:
sudo bash -c 'cat > /etc/ldap/scratch/add_memberof.ldif <<EOF
dn: cn=module,cn=config
cn: module
objectClass: olcModuleList
olcModuleLoad: memberof
olcModulePath: /usr/lib/ldap

dn: olcOverlay={0}memberof,olcDatabase={1}mdb,cn=config
objectClass: olcConfig
objectClass: olcMemberOf
objectClass: olcOverlayConfig
objectClass: top
olcOverlay: memberof
olcMemberOfDangling: ignore
olcMemberOfRefInt: TRUE
olcMemberOfGroupOC: groupOfNames
olcMemberOfMemberAD: member
olcMemberOfMemberOfAD: memberOf
EOF'
sudo ldapadd -Q -Y EXTERNAL -H ldapi:/// -f /etc/ldap/scratch/add_memberof.ldif
This allows you to relate users to groups.
Add indexes
Run the following commands to add indexes to the OpenLDAP database:
sudo bash -c 'cat > /etc/ldap/scratch/olcDbIndex.ldif <<EOF
dn: olcDatabase={1}mdb,cn=config
changetype: modify
replace: olcDbIndex
olcDbIndex: objectClass eq
olcDbIndex: member eq
olcDbIndex: cn pres,eq,sub
olcDbIndex: ou pres,eq,sub
olcDbIndex: uid pres,eq
olcDbIndex: entryUUID eq
olcDbIndex: sn pres,eq,sub
olcDbIndex: mail pres,eq,sub
EOF'
sudo ldapmodify -Y EXTERNAL -H ldapi:/// -f /etc/ldap/scratch/olcDbIndex.ldif
Add users to OpenLDAP
Add some users to our OpenLDAP directory. You can use the slappasswd tool to generate an encrypted password for users. For example:
PASS=$(slappasswd -s s3cretPassw0rd)
sudo bash -c "cat > /etc/ldap/scratch/user1.ldif <<EOF
dn: uid=user1,ou=people,dc=ldapexample,dc=org
changetype: add
objectClass: inetOrgPerson
uid: user1
sn: User1
givenName: Test
cn: Test User1
displayName: Test User1
userPassword: $PASS
mail: test.user1@ldapexample.org

dn: uid=user2,ou=people,dc=ldapexample,dc=org
changetype: add
objectClass: inetOrgPerson
uid: user2
sn: User2
givenName: Test
cn: Test User2
displayName: Test User2
userPassword: $PASS
mail: test.user2@ldapexample.org
EOF"
sudo ldapadd -Y EXTERNAL -H ldapi:/// -f /etc/ldap/scratch/user1.ldif
Disable anonymous bind to OpenLDAP
Run the following commands to disable anonymous client queries of OpenLDAP:
sudo bash -c 'cat > /etc/ldap/scratch/disableAnonymousBind.ldif <<EOF
dn: cn=config
changetype: modify
add: olcDisallows
olcDisallows: bind_anon

dn: olcDatabase={-1}frontend,cn=config
changetype: modify
add: olcRequires
olcRequires: authc
EOF'
sudo ldapmodify -Y EXTERNAL -H ldapi:/// -f /etc/ldap/scratch/disableAnonymousBind.ldif
Configure Charmed Kubeflow to use OpenLDAP
Set up Charmed Kubeflow to use the OpenLDAP server:
juju config dex-auth static-username='' static-password=''
cat <<EOF > connector.json
[{
"id": "ldap",
"name": "OpenLDAP",
"type": "ldap",
"config": {
"bindDN": "cn=idpuser,ou=system,dc=ldapexample,dc=org",
"bindPW": "$OL_BIND_PASS",
"rootCAData": "$(cat /etc/ldap/$OPENLDAP_HOST.crt | base64 | tr -d "\n\r")",
"groupSearch": {
"baseDN": "ou=groups,dc=ldapexample,dc=org",
"filter": "",
"groupAttr": "member",
"nameAttr": "name",
"userAttr": "uid"
},
"host": "$OPENLDAP_HOST:389",
"insecureNoSSL": false,
"insecureSkipVerify": false,
"startTLS": true,
"userSearch": {
"baseDN": "ou=people,dc=ldapexample,dc=org",
"filter": "(objectClass=inetOrgPerson)",
"idAttr": "uid",
"nameAttr": "displayName",
"username": "uid",
"emailAttr": "mail"
},
"usernamePrompt": "Username"
}
}]
EOF
CONNECTOR_JSON=$(cat connector.json)
juju config dex-auth connectors="$CONNECTOR_JSON"
Note: If you’re running your Juju controller on another computer to the server running OpenLDAP, you’ll want to replace the variables with the values we defined in the first step of this guide before running the commands.
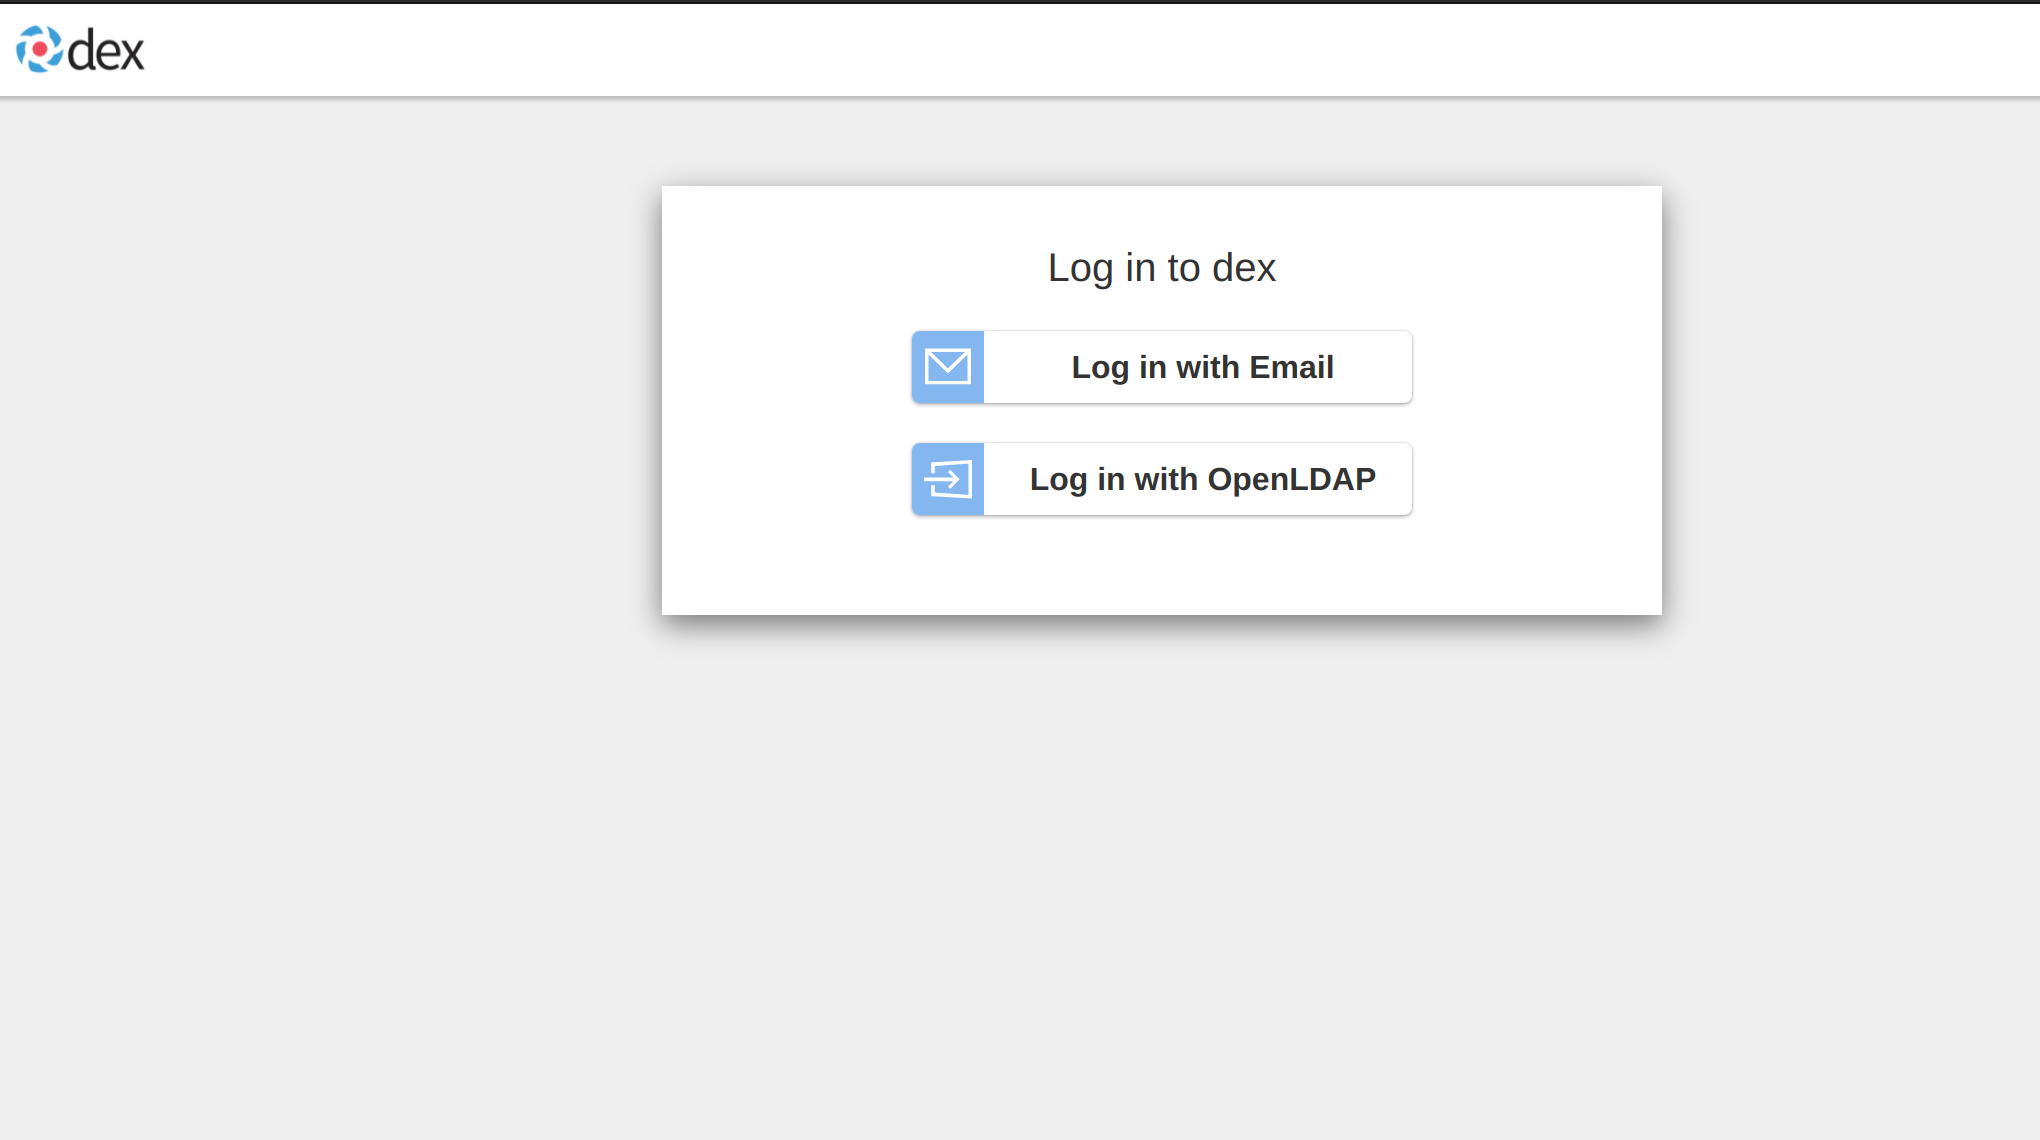
Verify Access
Verify that you can now log into Charmed Kubeflow with one of the LDAP user accounts you made previously e.g. user1:s3cretPassw0rd. Navigate to the Kubeflow Dashboard and choose “Log in with OpenLDAP”:
Further reading
- Read the Charmed Kubeflow authentication guide
- How to use Charmed Kubeflow with GPUs
Last updated a day ago.